Cassie’s Vegetarian “Neat”loaf Recipe

Thanksgiving is my favorite holiday, and as a vegetarian, I never feel like I’m missing out because I can make a killer vegetarian meatloaf and amazing veggie gravy, then enjoy all the wonderful sides.  For nearly 10 years, we’ve done thanksgiving with friends, typically at least half the group is vegetarian.  In recent years, I’ve started doubling my recipe because it freezes well and the leftovers are great for a week.

If you are trying to cut back meat or are going to have a vegetarian guest at some point this winter, give this dish a try!  Note: This dish requires a food processor, you could use a blender, but I think it would be really tricky.
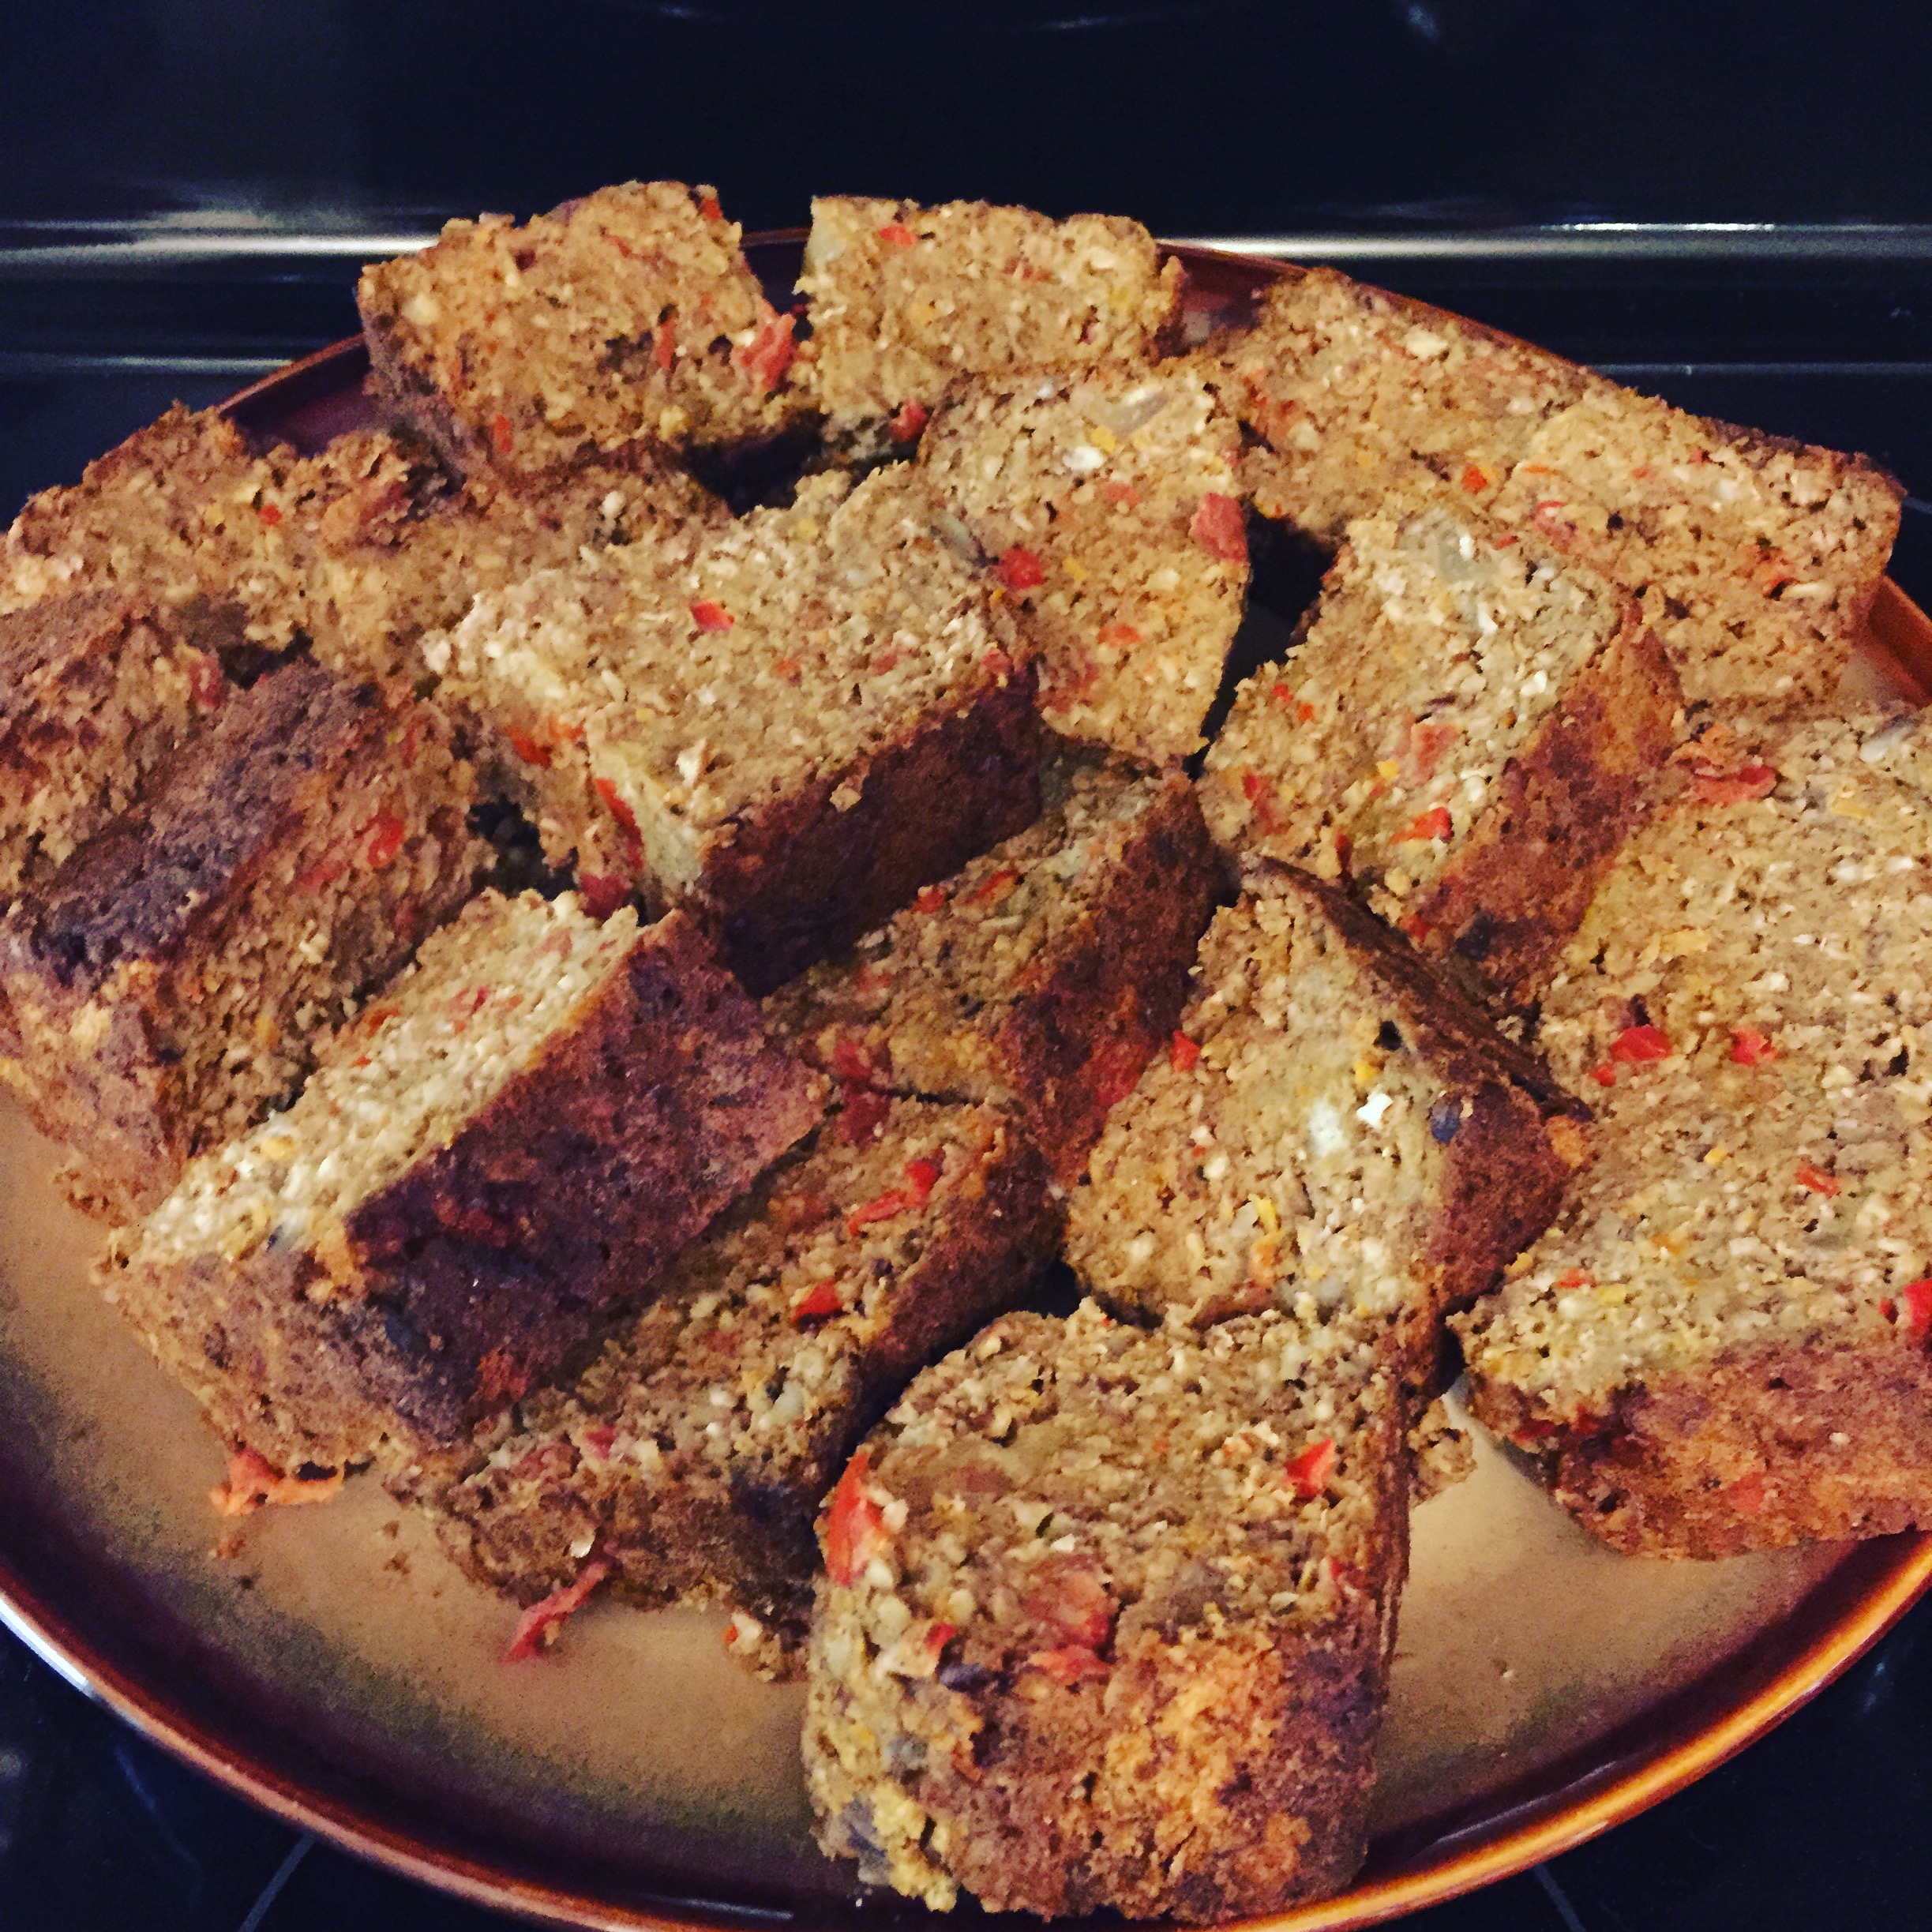
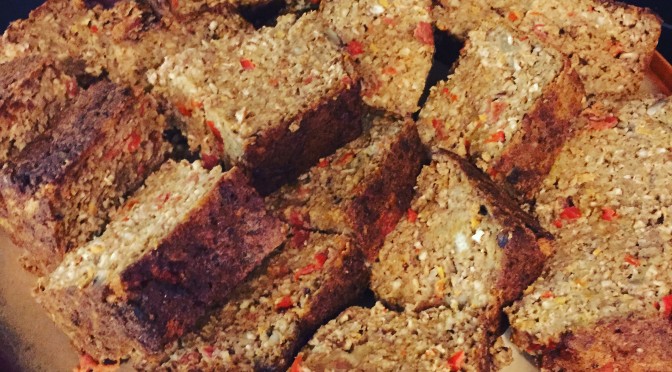
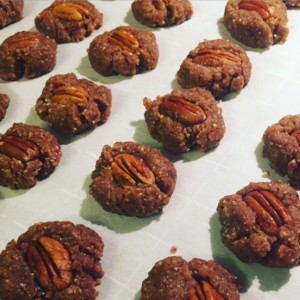
The finished product (I wish I had a prettier photo, but I'm not a food stylist.  I just like to eat.)
The finished product (I wish I had a prettier photo, but I’m not a food stylist. I just like to eat, and I was finishing the gravy while chasing two very muddy dogs around the kitchen)

Cassie’s Veggie “Neat”loaf

Ingredients:

8 slices whole wheat bread (toasted-I do all at once on a baking sheet, then cool)

2 c. pecans (you can use walnuts if you prefer)

3 large eggs (you can use vegan egg substitute, but I’ll be honest: it isn’t as good)

1 yellow onion, roughly chopped

1 large carrot, peeled

1 celery rib

1/2 red, green, or yellow pepper, sliced (whatever is cheapest)

1/2 can diced tomatoes with Italian seasonings (if you use plain, add a pinch of Italian seasonings of your choice)

1 1/2 T. olive oil

1 t. salt, other seasonings to taste (I like about 1/2 t. garlic powder)

Directions:

  1. Preheat oven to 375 and lightly spray a loaf pan with oil.

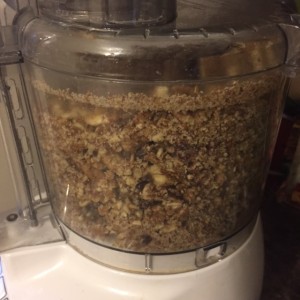
2. Tear up the cooled, toasted bread into the food processor and process into bread crumbs.  Toss in a large bowl.

3. Process the pecans into fine crumbs and toss into the large bowl with the bread crumbs.

4. Process the pepper slices, carrot, and celery until very finely diced and toss into the bowl with the pecans and bread crumbs
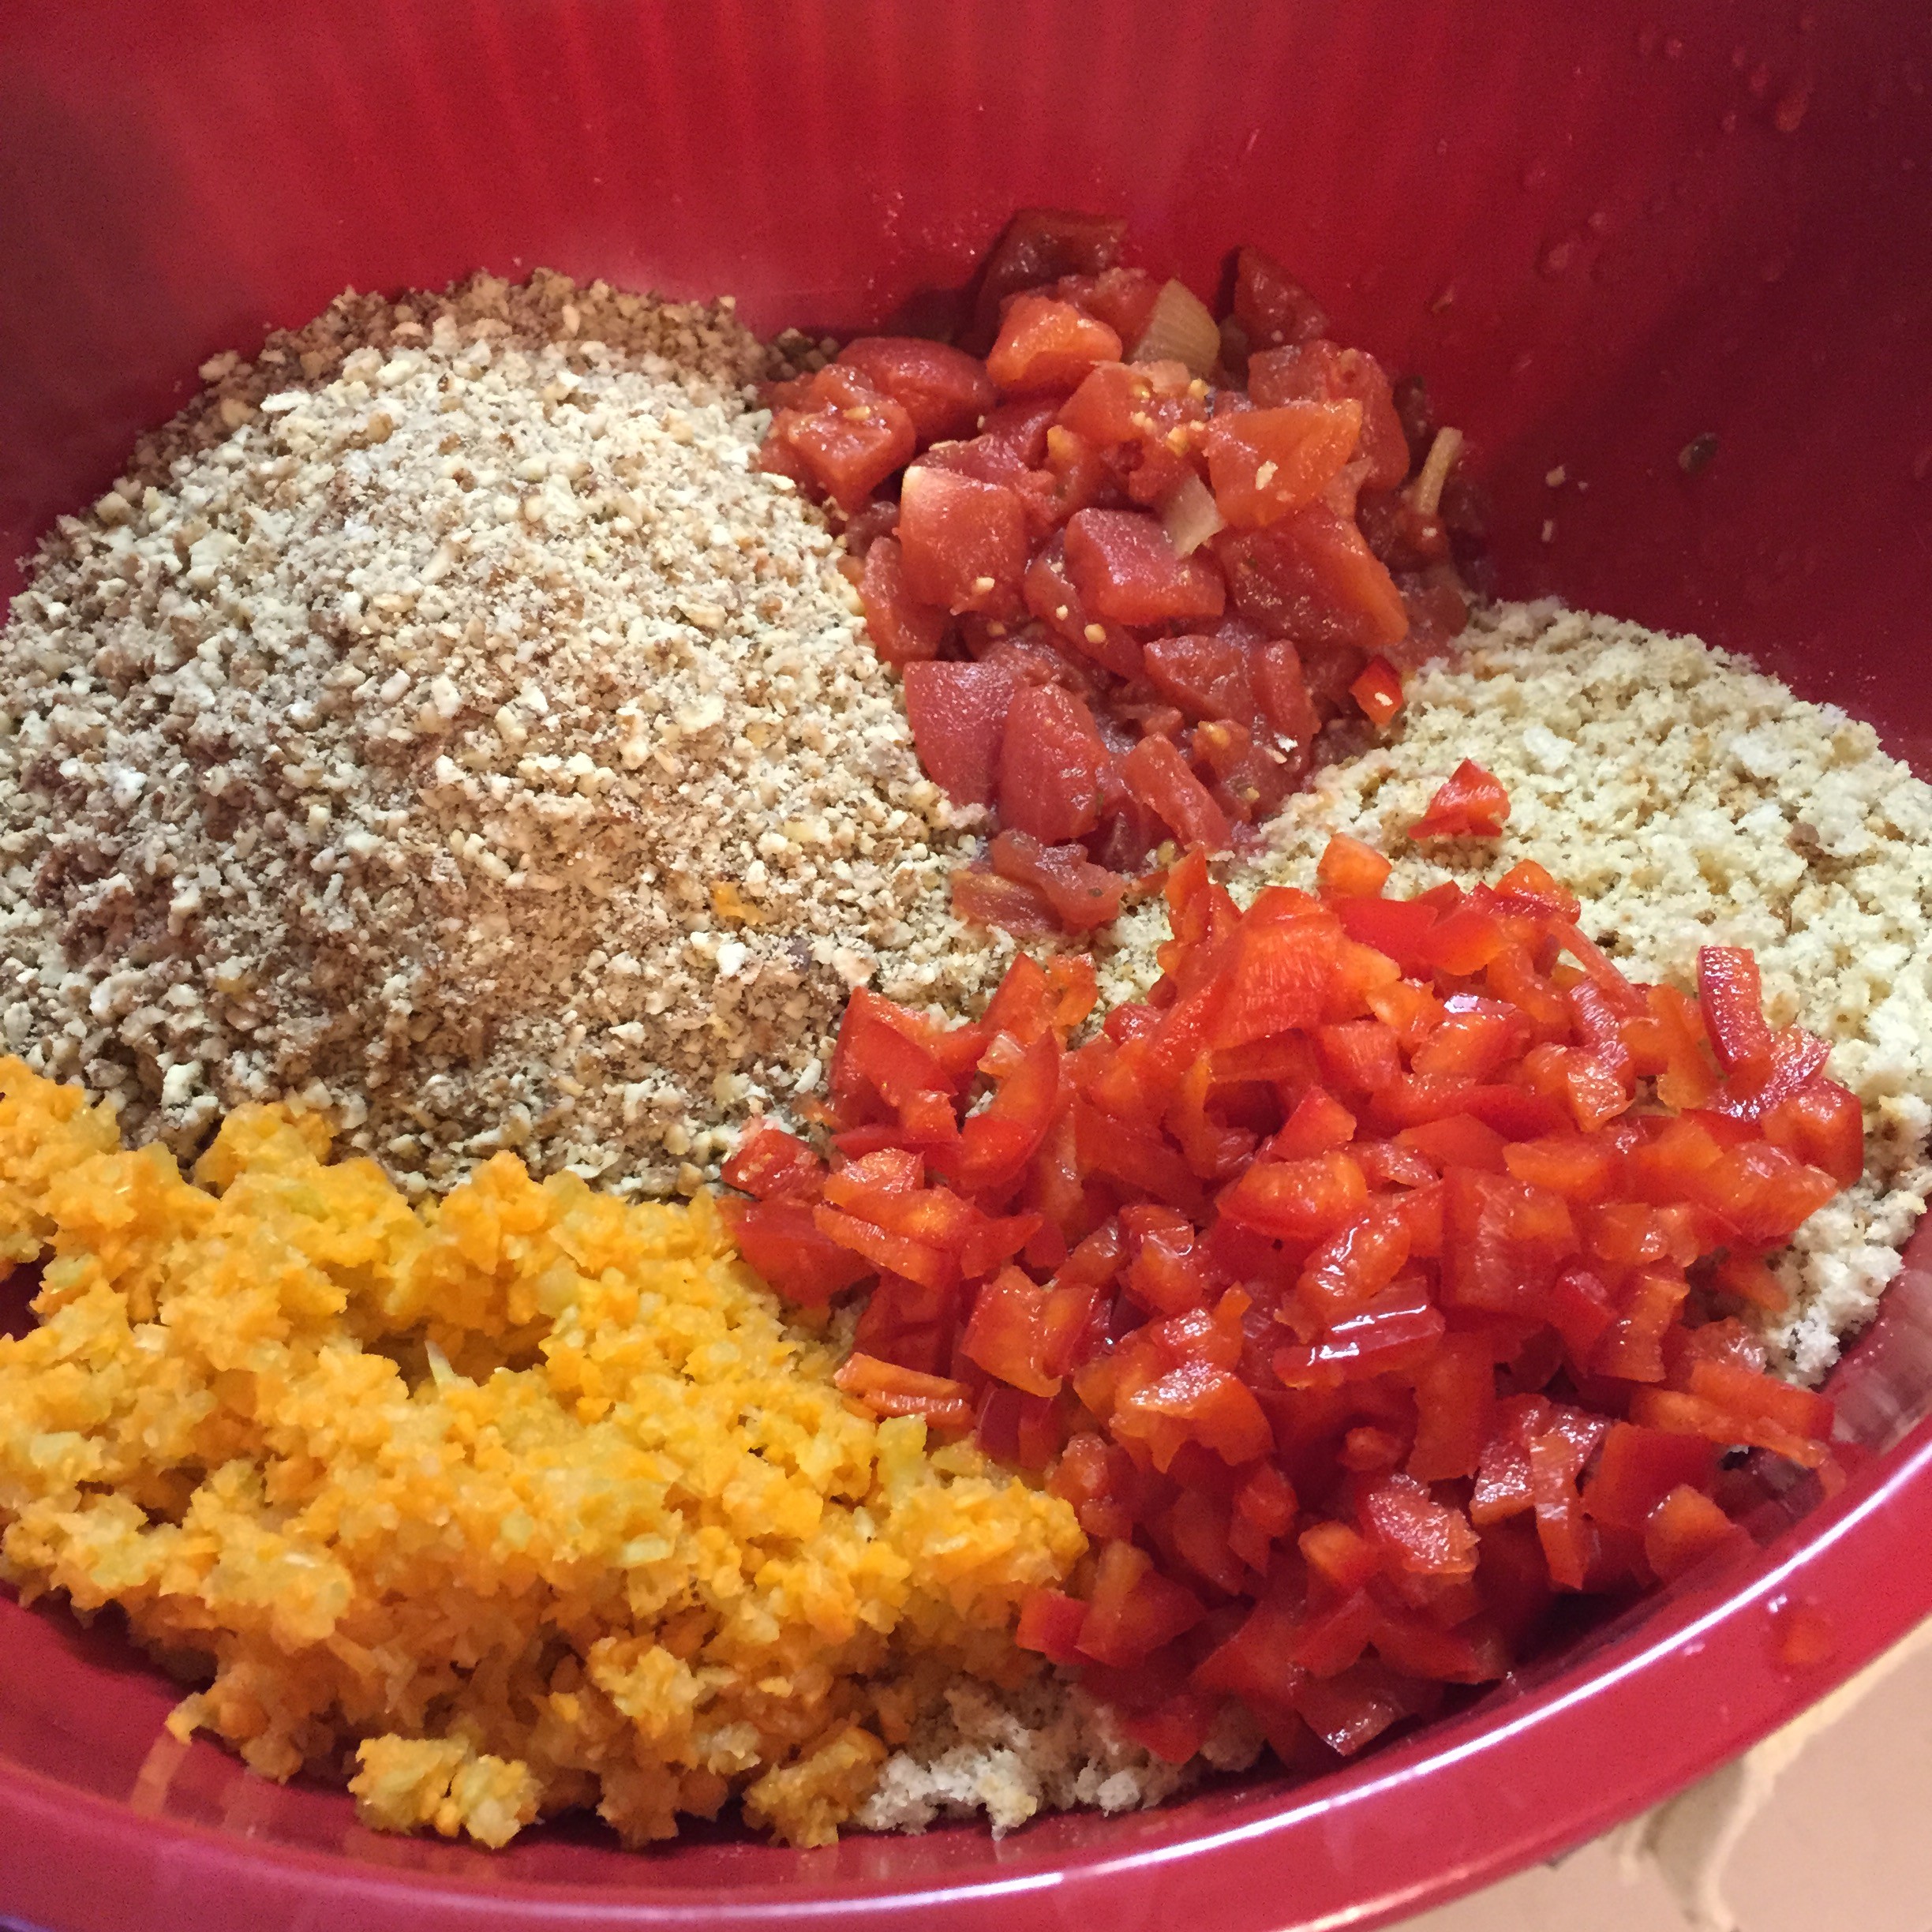
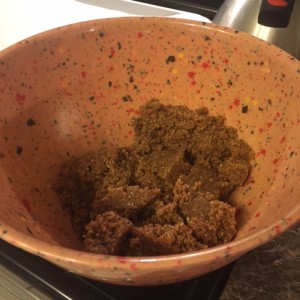
The dry ingredients, plus the veggies.

5. Crack 3 eggs into the food processor and add the onion.  Process together into a frothy mixture.  The onions should be very fine and it should be a liquid.  Pour into the large bowl with everything else.
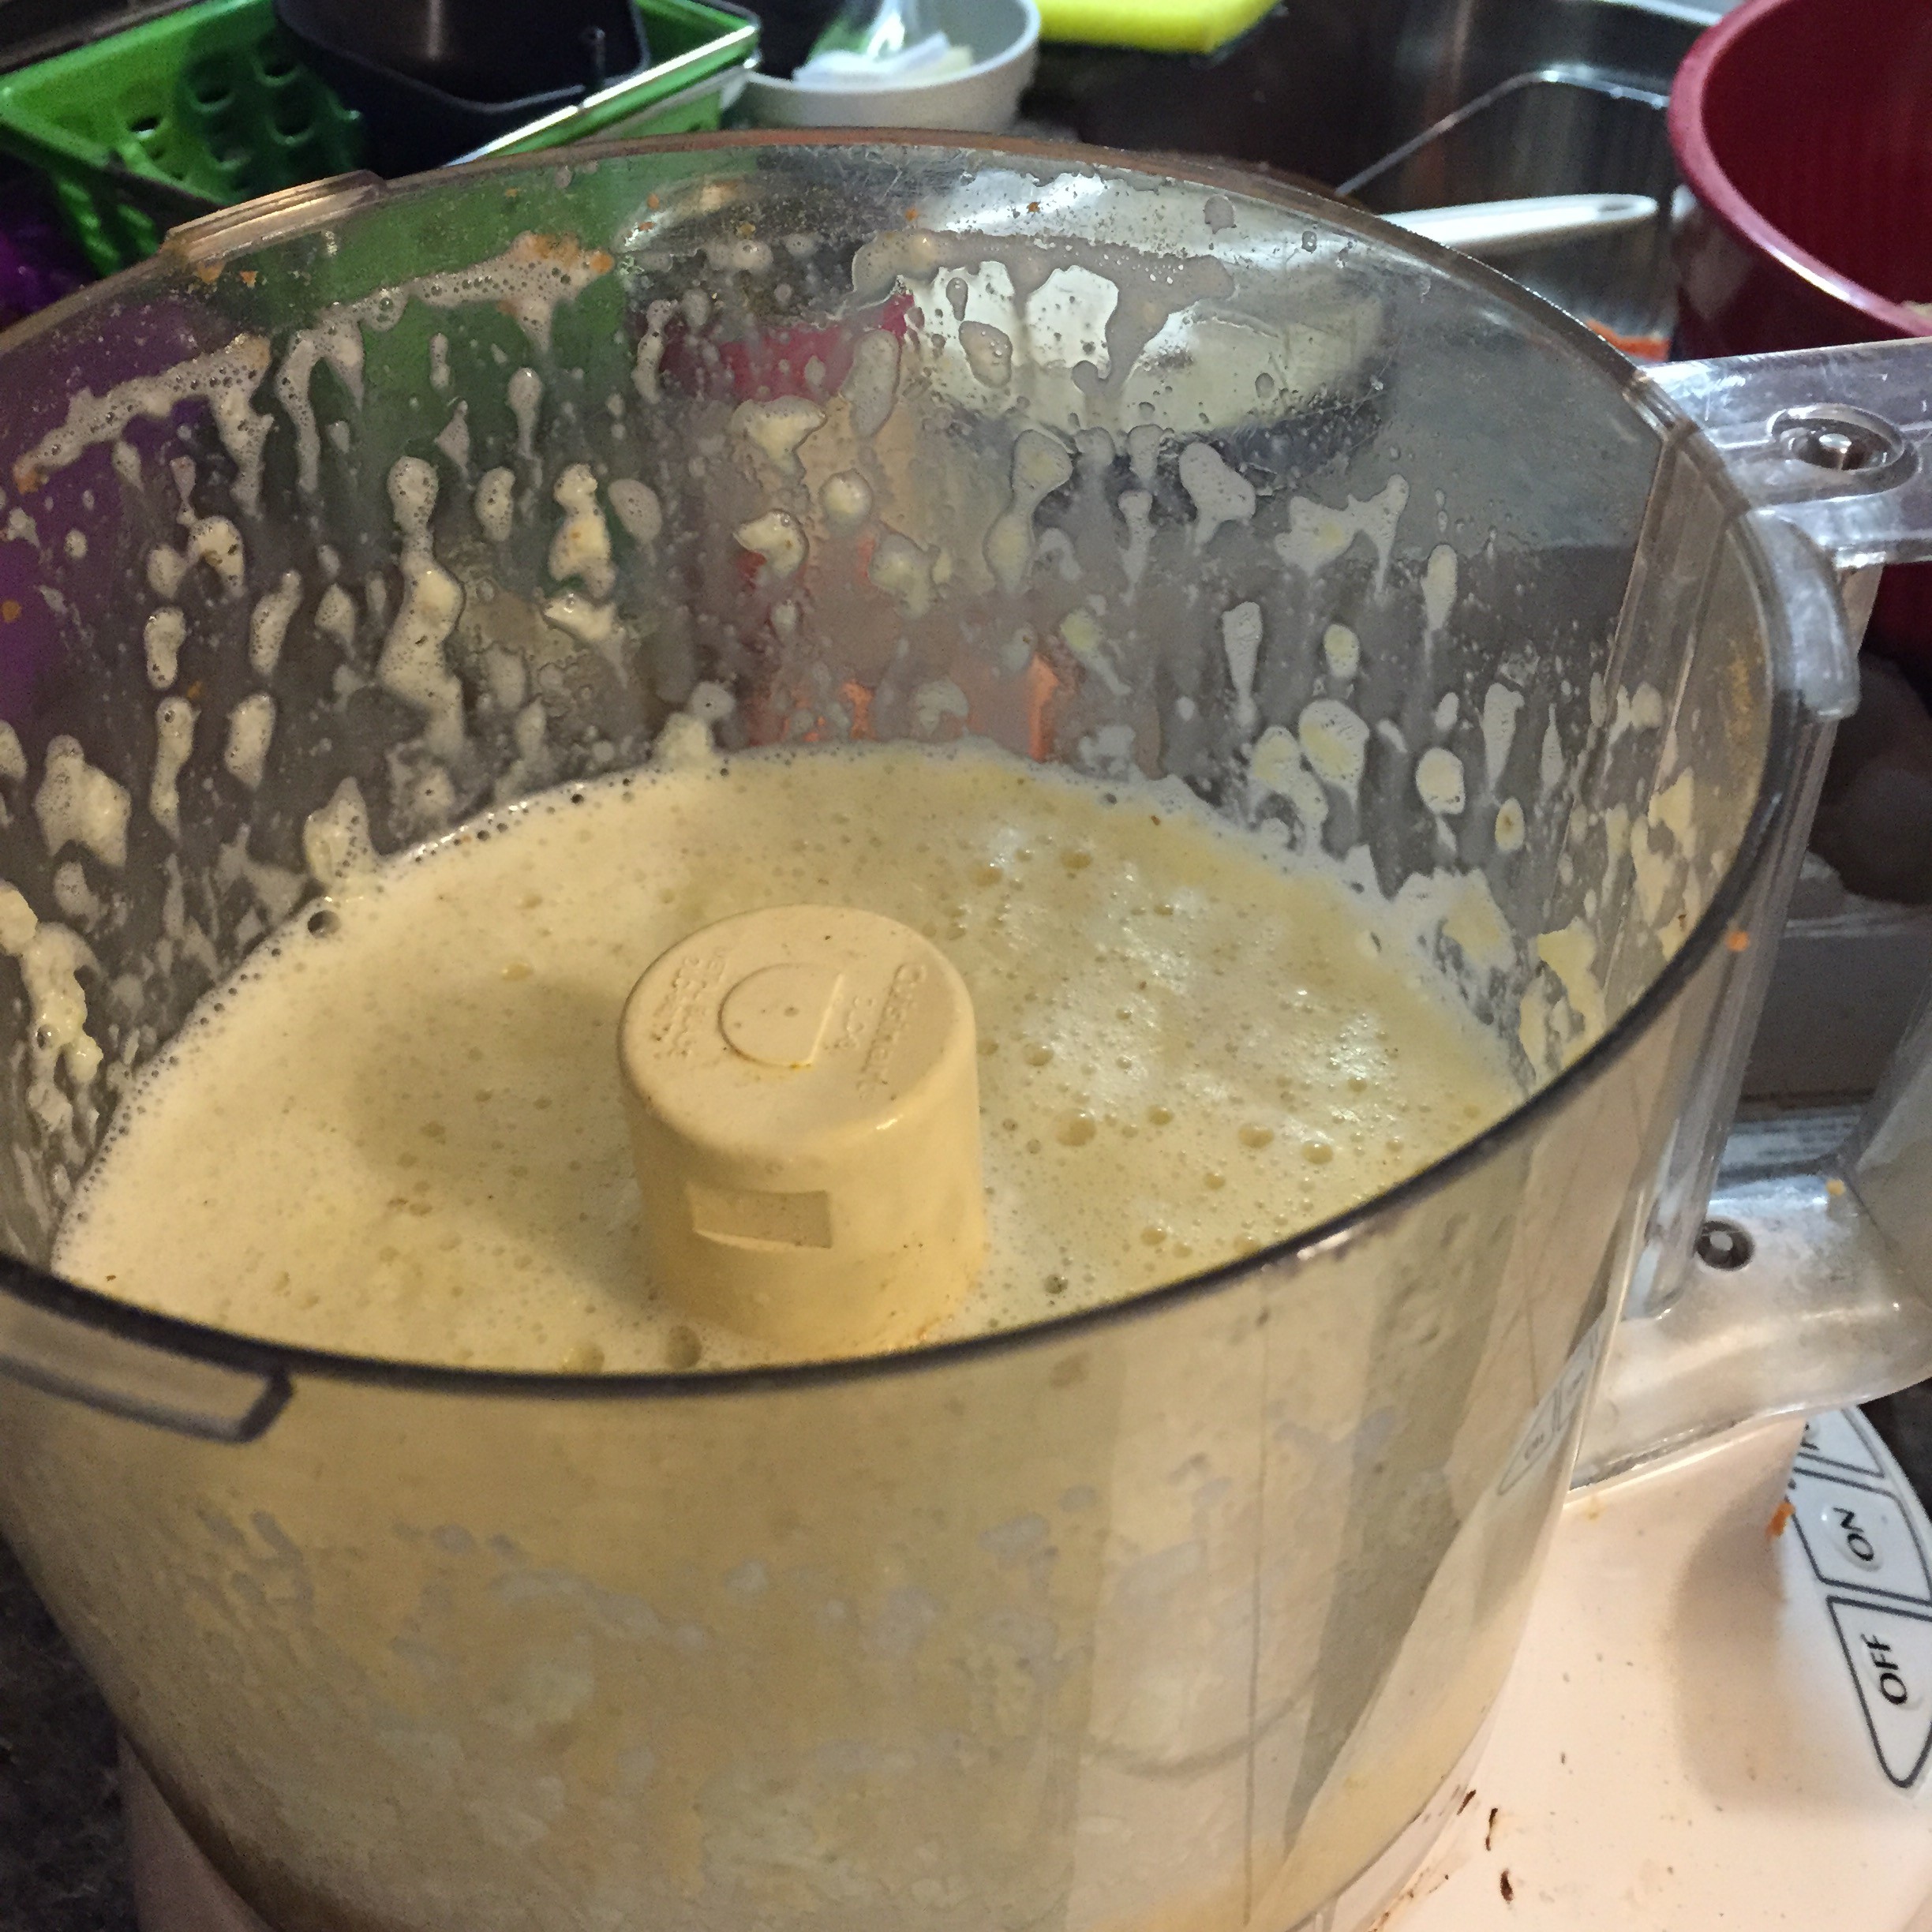
Blend the 3 eggs and the onion until (for lack of a better word) frothy.

6. Add the olive oil and diced tomatoes, plus salt and seasonings of your preference to the bowl and mix well (you might want to use your hands to make sure it is evenly mixed.

7. Pat into the prepared loaf pan and bake covered with foil for 60-70 minutes, remove foil and bake another 10 minutes.
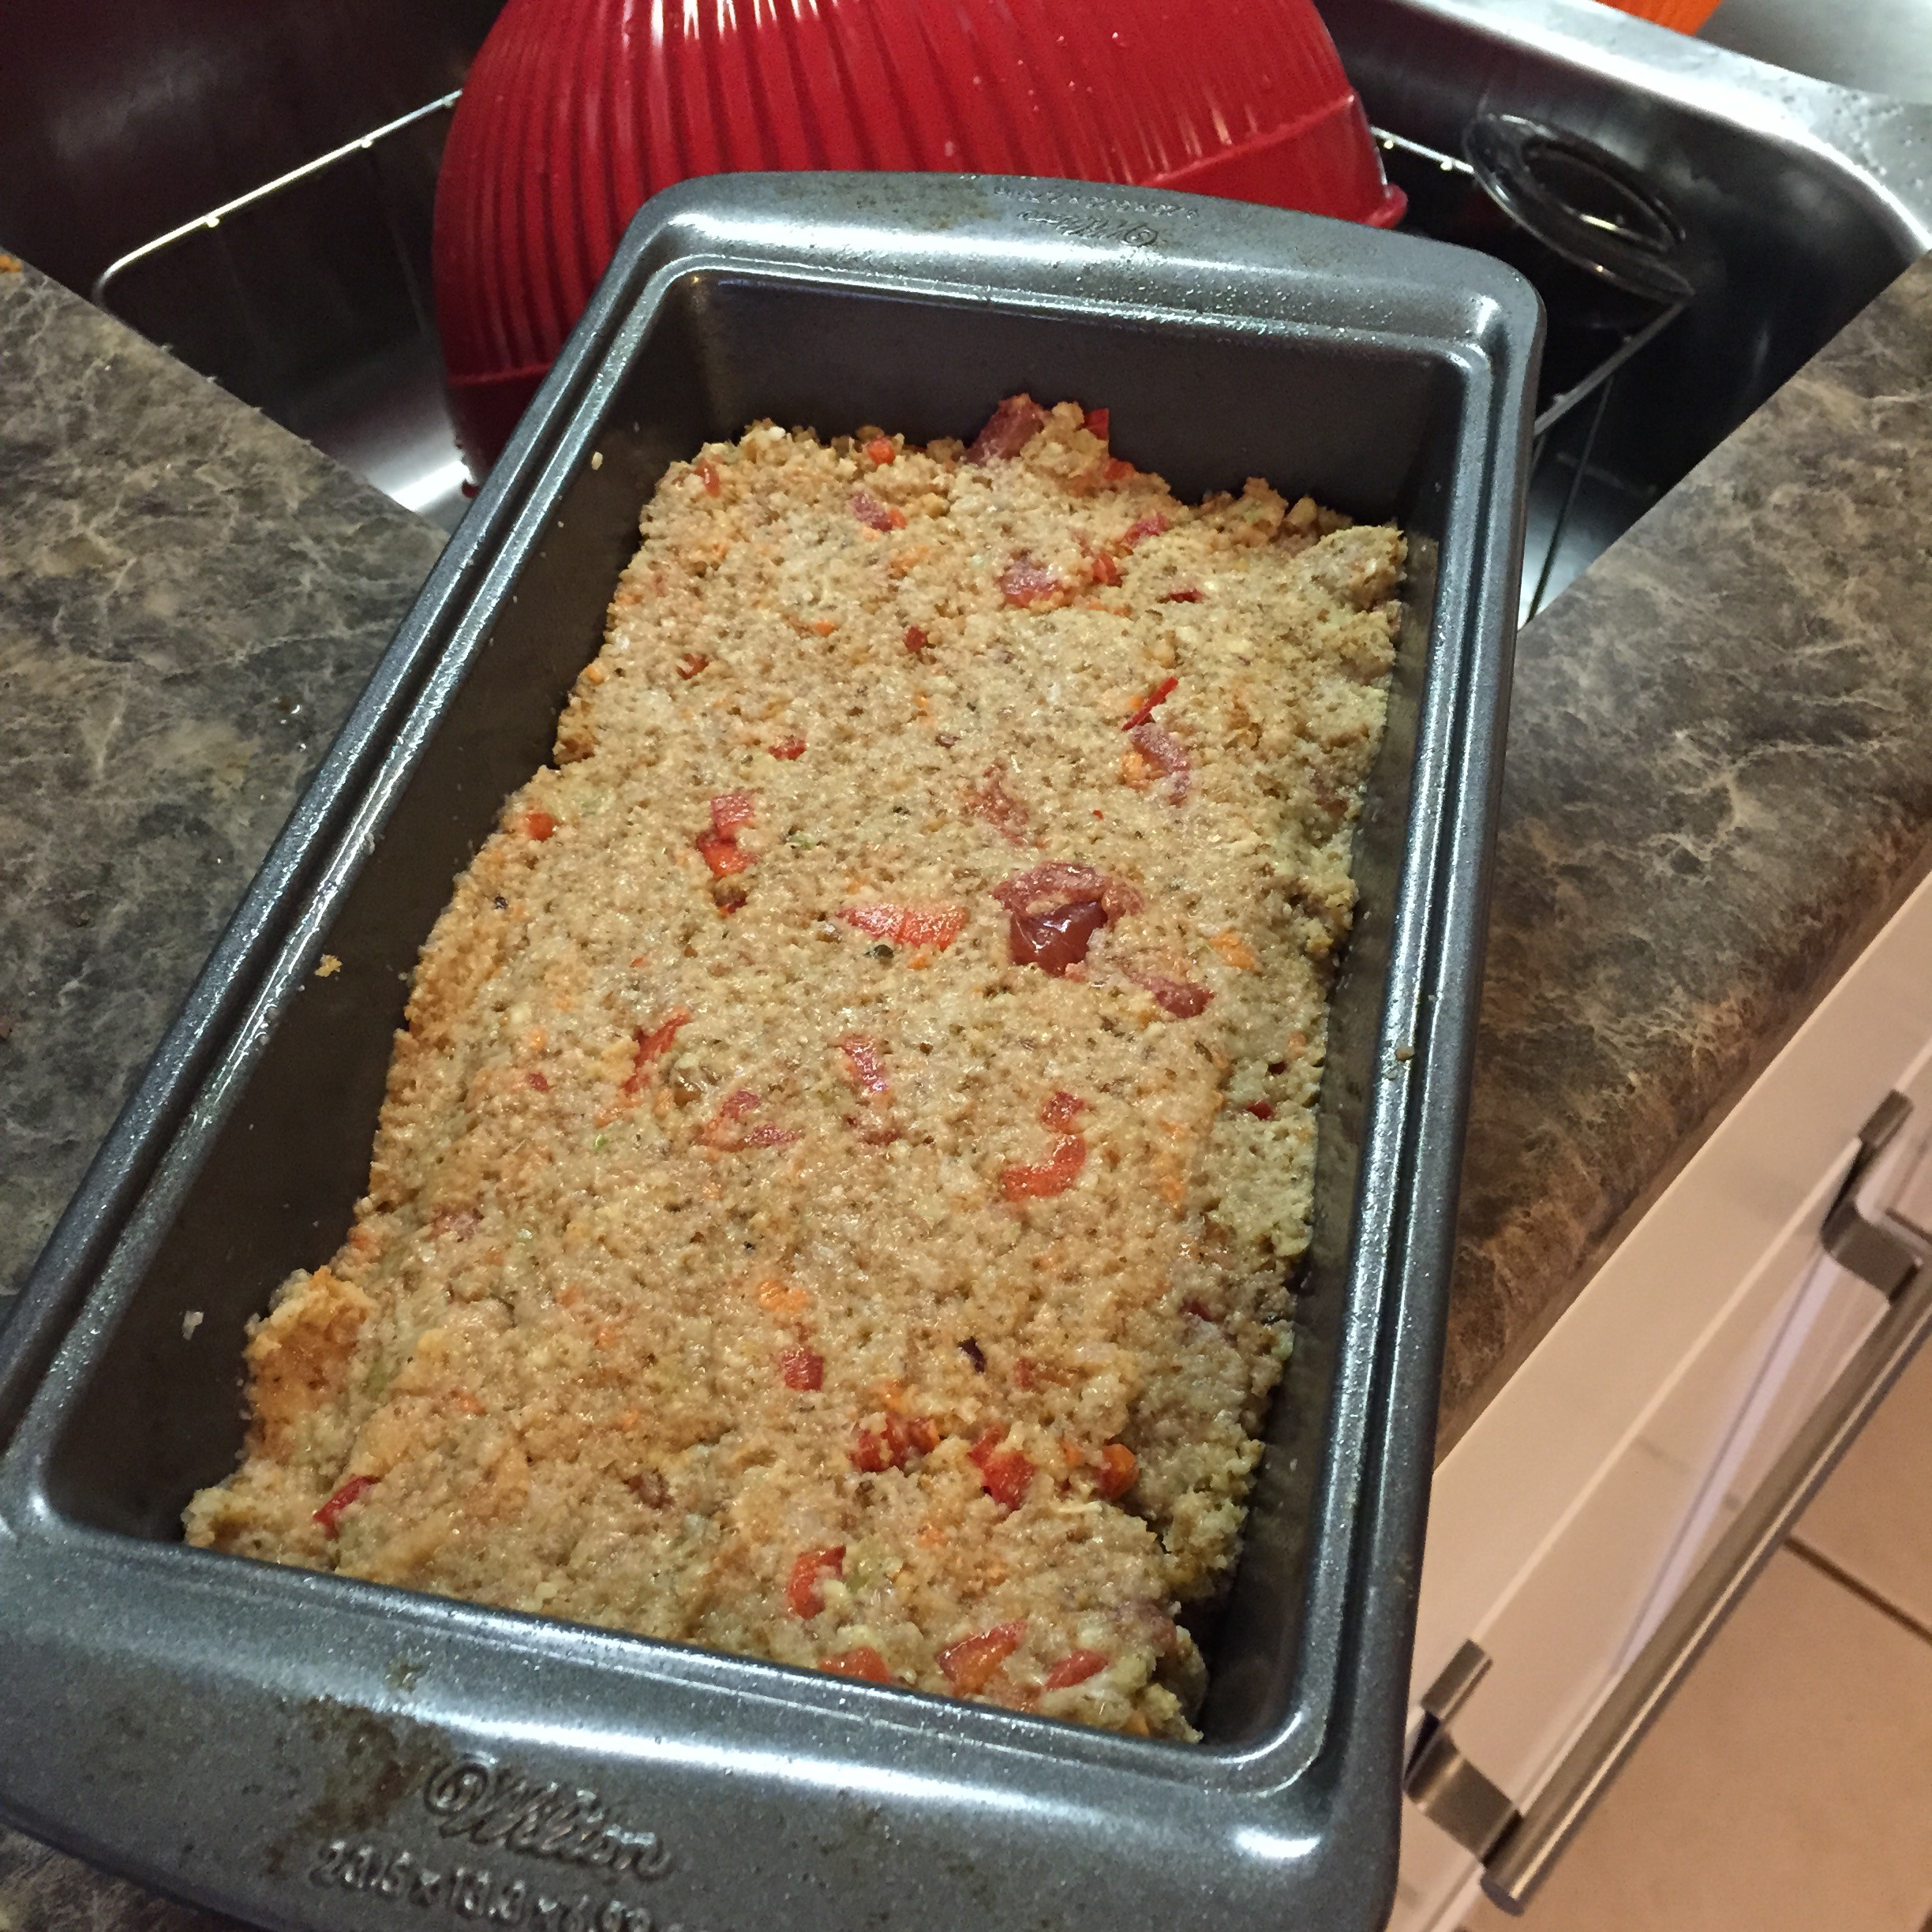
See, looks delicious already!

Top with veggie gravy (I love the Chicago Diner recipe), BBQ Sauce, or Ketchup.  The gravy recipe takes awhile to thicken once it cools, and I think it is even better the second day.  You can find nutritional yeast typically in the health food section of the grocery store, but I’ve found it in baking sections too.  I usually have to ask.

Fun tip: If you make the dry base for the Chicago Diner gravy recipe, it makes a TON.  I’ve taken extra and bagged it with the directions to give as holiday gifts to my fellow vegetarians.

If you try it, please post a comment and let me know what you think!


Giving Thanks

Our massage therapists, estheticians, and management team have much to be thankful for.  We get to work in a (mostly) peaceful space with lovely music and candles, fun products, and caring colleagues.  We have the privilege of treating clients and getting to know and care about many like family over the years.  Most of all, we get to see guests become relaxed, serene, and unburdened, even if only for a moment.  In our busy, plugged-in world, that is truly the biggest blessing of all.

Camille Arbegast, Managing Esthetician

From Camille: I am thankful for not only being able to help my clients relax and ease their mind, but for being able to see the positive changes in their skin over time as we address their struggles and concerns.

JameeKoopmanMassage

From Jamee: I’m thankful for the autonomy to use my knowledge (in massage and healthcare) to my clients’ best advantage.


webkatie

From Katie: I am thankful I can make people feel better about themselves and hopefully be a bright spot in their day.


webteresaFrom TeresaI am grateful for all the wonderful people I get to work with: co-workers and clients alike.


CelesteBrightonHS2From Celeste: I’m thankful for the unlimited resources and knowledge my co-workers have, and for the opportunity to find out more about the lovely people we take care of.

FullSizeRender(1)From Cyerra: I’m thankful to work with a talented and and welcoming group of people who inspire me every day!


Happy thanksgiving from our spa family to your family.

7 years, 7 fun facts (and some throwback photos)

I always get a bit sappy on the spa’s birthday.  I’m not a parent of human children, but I consider the spa to be my baby.  Today the spa is 7 years old and I’ve spent my morning going through old photos and smiling about all the people I’ve gotten to work with over the years.  I don’t have any photos of the spa in progress when we were building out the old location, which is a shame because the transformation was incredible.

That being said, some of the things we found when remodeling the first location were so horrifying I think it is best that I don’t have lasting images.  What doesn’t kill you makes you stronger, right?

I wanted to share 7 fun things about the spa for 7 years to mark the milestone.

  1. We signed our lease in September 2008, the day before the market tanked! We laugh that when you start at the bottom, there really is only one way you can go!
  2. Our team grew from 4 of us in 2008 to 18 of us in 2015spagrowth
  3. In 2009, our first full year, we did 2649 services.  In 2014, our most recent full year, we did 10,234 services (we’ve already topped that number by a lot this year!) in 7 years, we have performed 51, 617 massages, facials, manicures, pedicures, and waxes
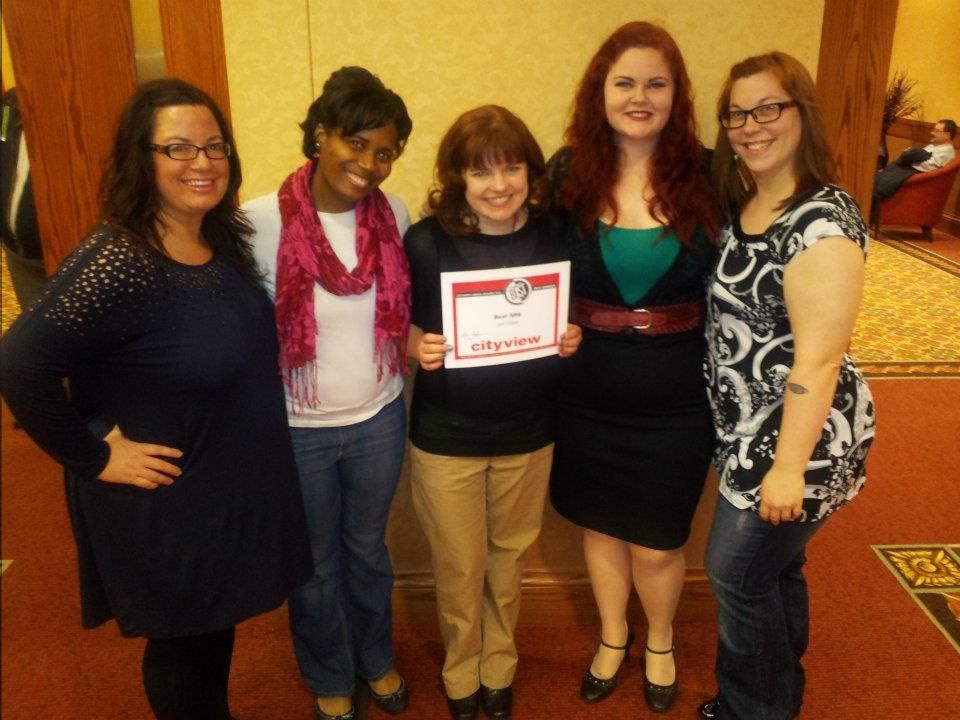
  4. We have been voted Des Moines’ Best Spa every year since 2010!  This is a photo of our group in 2011.cityviewbestof2012
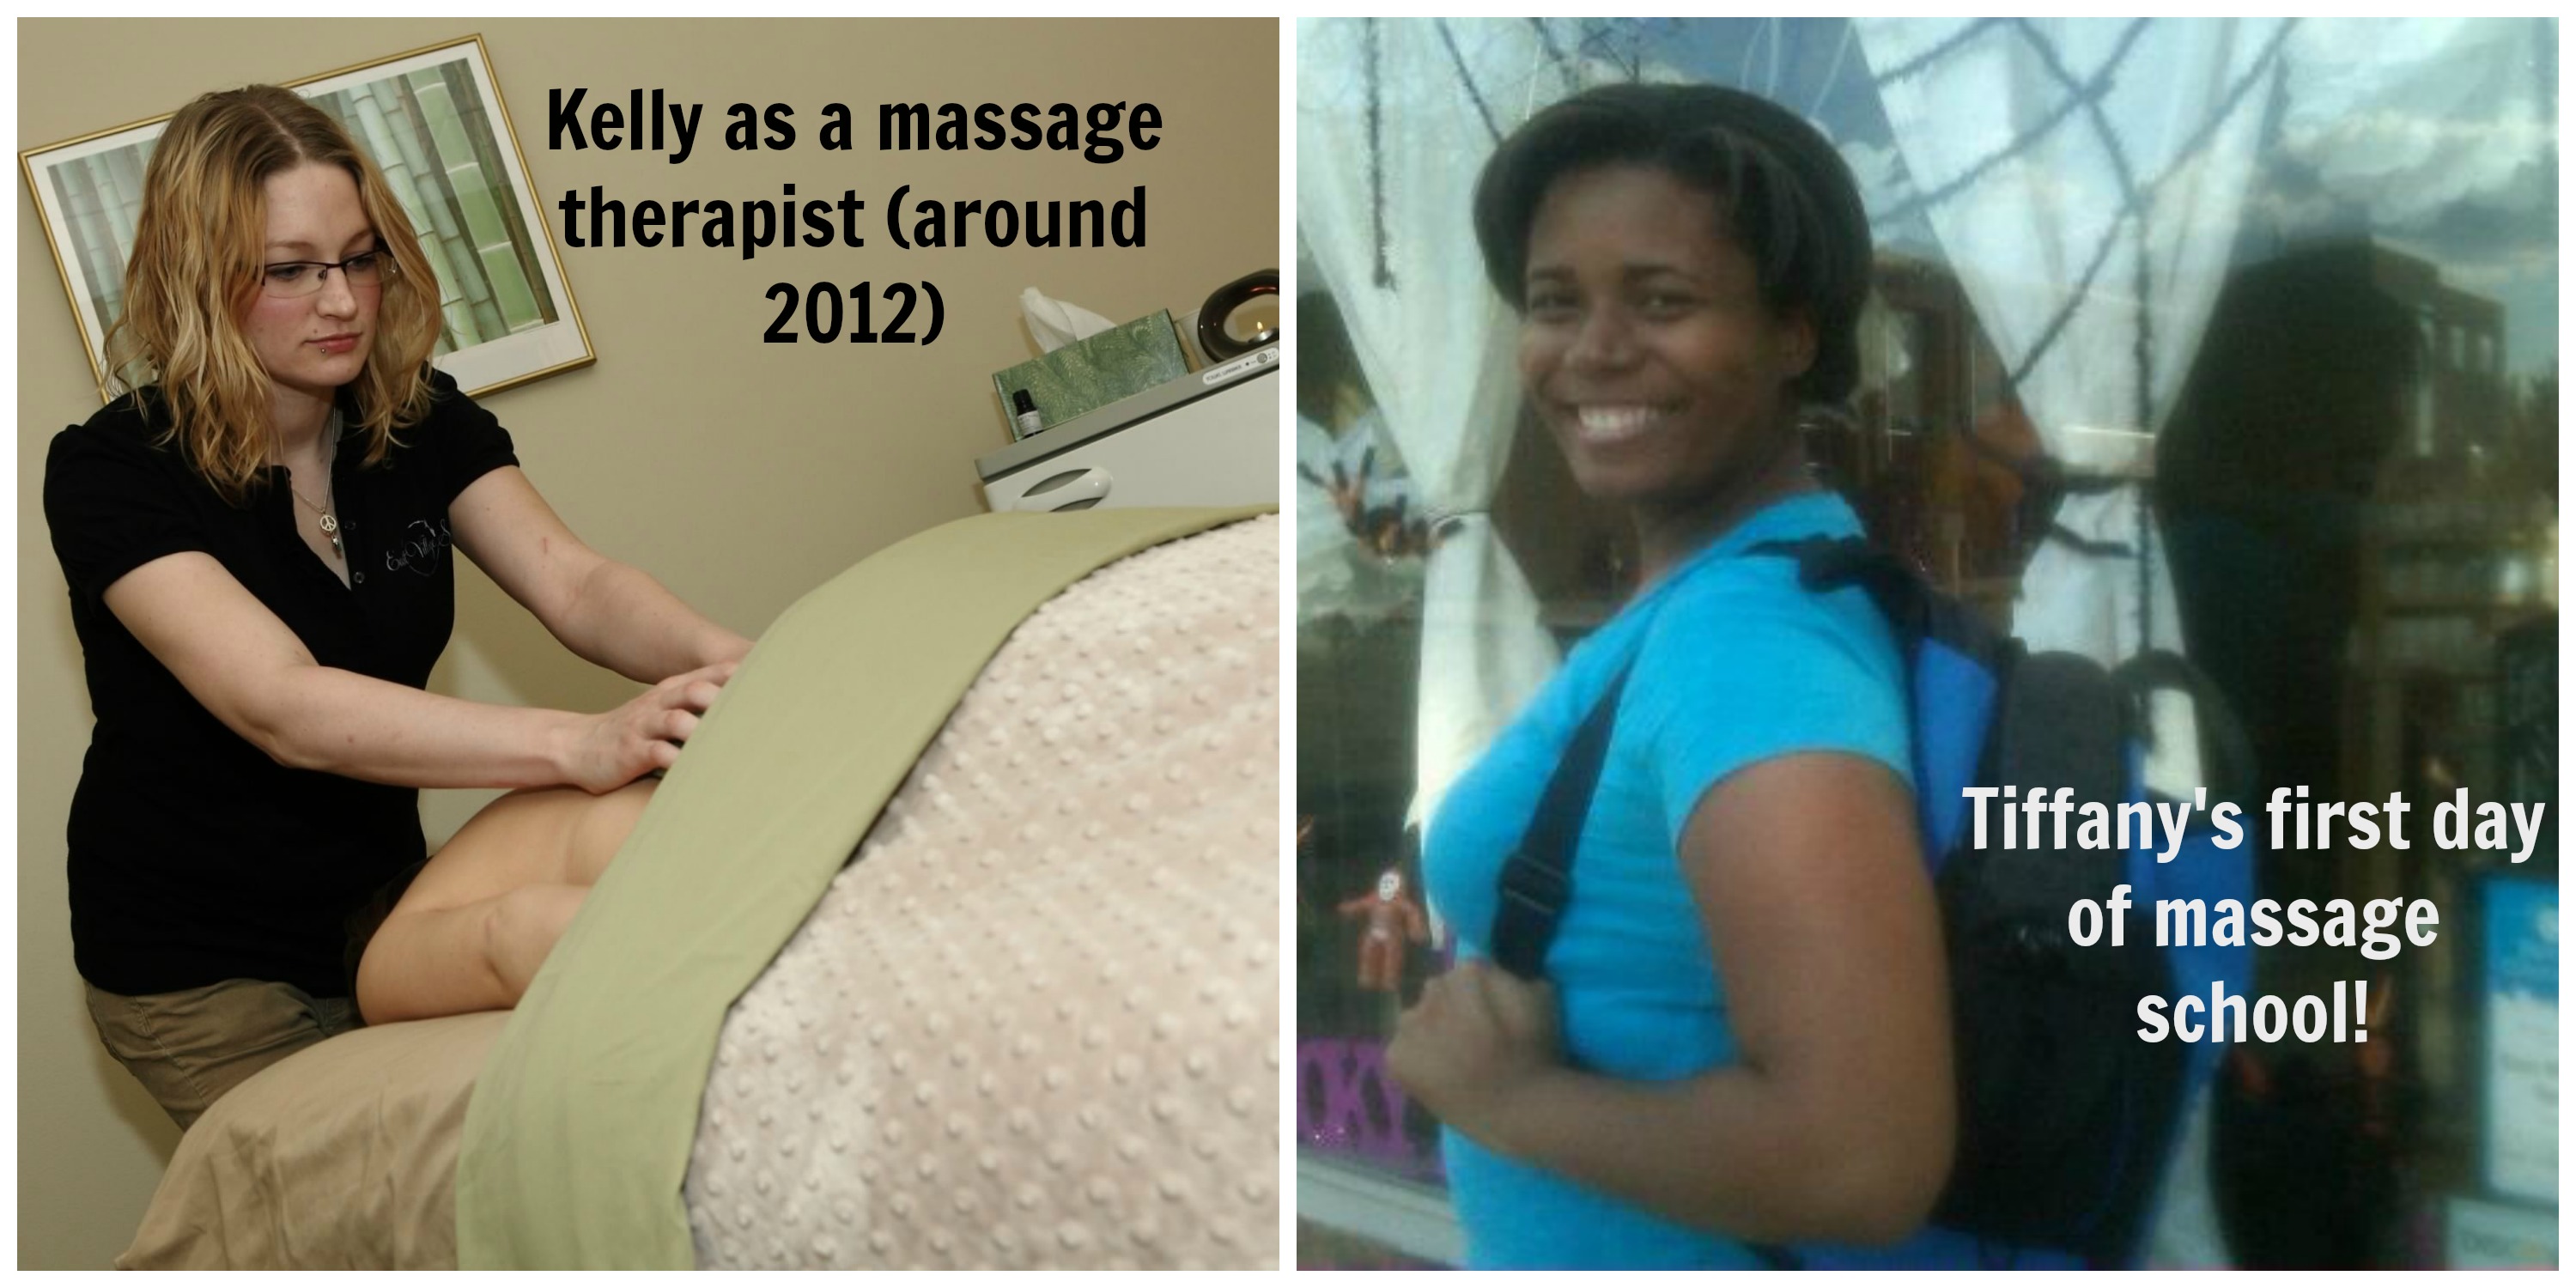
  5. Our employees stay with us a LONG time, but sometimes switch roles.  Our front desk manager Kelly used to be one of our amazing massage therapists.  Our amazing massage therapist Tiffany, was our first front desk manager!kellytiffany
  6. The old spa’s location was too small, had weird restrooms, and no parking, but it did have the prettiest storefront, especially at the holidays.EVSpa-59
  7. I hit my 10 year anniversary as a licensed massage therapist this year.  While I’m mostly handing out chocolate at the front desk (trying to dodge my REAL projects) these days, you’ll still find me filling in for a shift here or there!
    loftphoto
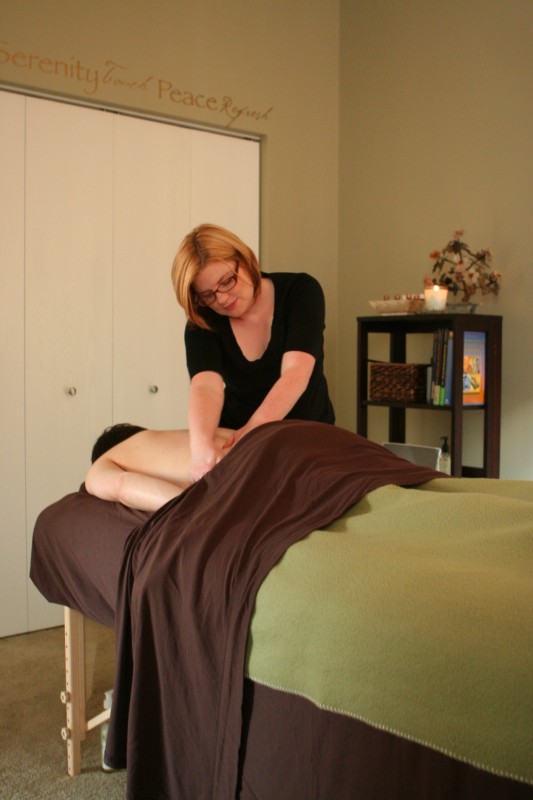
    Me (age 27, seems forever ago!) in my private practice prior to opening the spa.

    Thank you to all of our clients and employees throughout the years who have made this a fun journey full of such wonderful memories.  Here’s to many more years!

Healthy Holiday Cookie Make-Overs: Part 2

Yesterday I shared my favorite healthy holiday cookie, a vegan, gluten free, paleo friendly Pecan Sandy.  Today I’m going to share yummy and healthier version of chocolate bark and buckeyes.  Both are easily customized to your preferences too!

My friend Renae shared with me her favorite monster cookie protein ball recipe.  It was easy to adapt into a protein ball that was healthier, AND to dip into dark chocolate for a buckeye that had lots of protein and fiber, win-win!

Protein Ball Buckeyes

Ingredients:

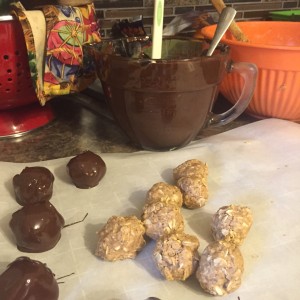
Ingredients used for the "made-over" Buckeyes
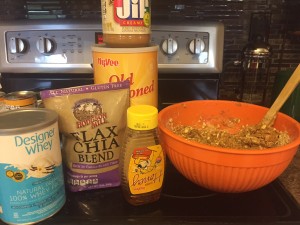
Ingredients used for the “made-over” Buckeyes-I doubled the recipe below and made about 50 buckeyes

1 c. old fashioned or quick oats

1/2 c. natural peanut butter (I use one of the easier-to spread versions like Jif)

1/4 c. honey (local if you can-if making vegan, you can use agave)

1 scoop vanilla whey powder (if making vegan, look for a vanilla flavored vegan protein powder)

1/3 c. ground flax seed/chia seed blend or 1/4-1/3 c. flax or chia seeds (optional)

Dark chocolate for melting and dipping (I used the large dark chocolate bars from Zoet, found at Hyvee)

Combine all above, I found that starting with the peanut butter and honey, then adding the dry ingredients a bit at a time was best. If you can’t quite get them sticky enough to form a ball, add a bit more peanut butter or honey at a time.  You’ll need to mix with your hands eventually.

Roll into balls, then place on waxed or parchment paper.  To be honest, they are delicious at this point without being chocolate dipped.  You can store then in the freezer for a quick protein snack or breakfast this way or continue with the next step.

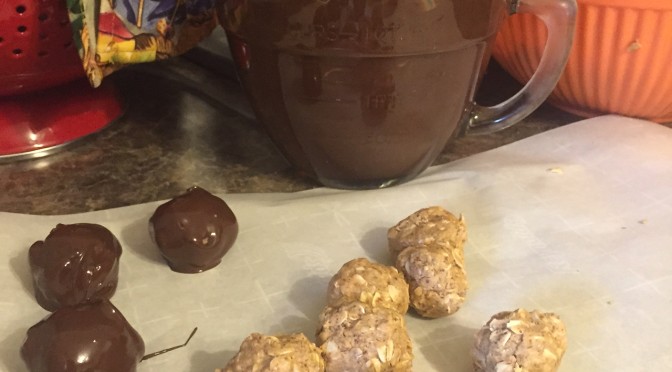
Melt chocolate squares in microwaveable bowl about 30-45 seconds at a time and stir each time until just melted.image2

Drop a ball into the chocolate and roll until it is covered, then remove with a spoon and place onto the wax paper.  Do this until all protein balls are covered in the dark chocolate, stopping to re-soften the chocolate or add more squares as needed.

Place into fridge to harden faster.

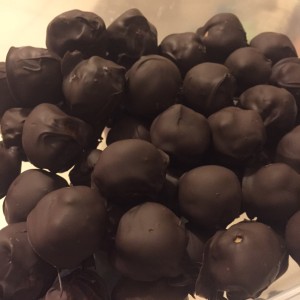
Store in fridge or freezer, depending on how quickly you’ll eat these.  (Warning, it might be pretty quick-I had to tell my husband to back-off because they were so good).

The finished protein buckeyes, ready for sampling at the Promenade (unless my husband finds them first).

While these protein buckeyes do have more fiber, nutrients, and protein than regular buckeyes, do note they are certainly not low calorie and are ideal for active lifestyles or a grab and go breakfast replacement!

Be sure to visit the spa this Friday for the Holiday Promenade to sample these and a few other holiday cookie healthy makeovers! 🙂

A Healthy Twist on a Classic Holiday Cookie: Pt. 1

I’m a sucker for holiday cookies, candies, bars, you name it.  I also love finding recipes for healthier versions of said treats to find  perfect recipes to please diverse crowds, from those who love decadent desserts to people who are vegan, gluten free, or have other dietary limitations.  This year, I decided to make several healthier versions of classic holiday cookies to serve at our Holiday Promenade event, along with recipes, to inspire others to be creative.

Sometimes my experimentation leads to hilarious cookie fails.  Last night one of my cookies had maybe one-too-many healthy substitutions and was deemed by my taste testers as “So bad that if you serve this at Holiday Promenade, you will RUIN Holiday Promenade.”  My husband even asked if I made it with potatoes. This explains why my dog that eats anything in sight didn’t try to get the pan off the counter.  And I just thought he was being good!

To save our Promenade guests from fails or substitution headaches, I’ll only be serving really yummy treats taste-tested by my picky friends made with easy-to-fi
nd ingredients.  This is one of my long-time favorites: Healthy Pecan Sandies.

Pecan Sandies (Gluten Free, Vegan, Paleo, Possibility of being raw)

Ingredients:

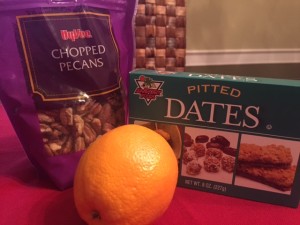
IMG_3882

1 c. pitted dates

2 c. chopped pecans (use raw if making this as a raw cookie)

zest of half an orange.

Preheat oven to 325 degrees.  Line a baking sheet with a piece of parchment paper.  Process pecans in a food processor until finely ground.  Add pitted dates and orange zest.  Process until the mixture starts to pull away from the side and makes a coarse “dough”

image1

image2
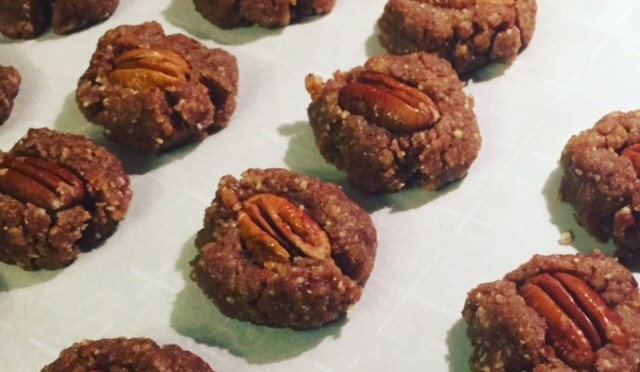
Pecan Sandy cookie dough after it has been processed

Roll into walnut sized balls on prepared cookie sheet and press a pecan half into each while flattening slightly.  They can be placed close together as they will not spread while baking.  Bake at 325 for 12-15 minutes or until bottoms brown slightly.  Cool before eating (or they’ll fall apart!)

image3
Pecan sandies ready for the oven (they look the same coming out of the oven!)

To make a raw version, make sure you purchase raw pecans (easy to find in health food stores or Trader Joes) and don’t bake your cookies, but prepare them and freeze in a single layer so they hold their shape.  Eat out of the freezer as they’ll crumble as they warm to room temp if you haven’t baked them.

Stay tuned for more healthy holiday treats recipes this week!

Massage Therapy Benefits Veterans and Active Duty Military

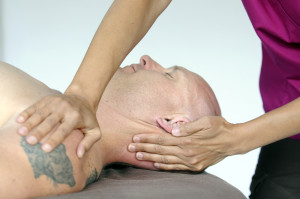
East Village Spa wants to make massage therapy accessible to military personnel and veterans so we offer a specially priced massage therapy treatment year round with their needs in mind. The “Military Massage” is a 60 minute massage designed for active and veteran military personnel facing diverse physical and emotional health needs related to service.

Our Military Massage is also priced at $70/hour, which is a reduced rate from our usual $85/hourly massage rate.  This reduced rate is our “Thank You” to those who serve, and we hope this allows for more frequent visits as the benefits of massage build over time.

Common proven benefits of massage therapy correspond to concerns shared by many military personnel due to the nature of their work.

We are thrilled tmassageo be able to offer a massage service just to active and veteran military.  The first massage will include a detailed health history and a chance to visit with your massage therapist about your treatment goals, whether general relaxation, stress relief, specific injuries or areas of pain that you’d like focus on.  Your massage therapist will discuss the best pressure, massage therapy techniques, and self-care to help you achieve your goals.  He or she can also refer you to a colleague within the spa for different techniques or may refer to outside providers as needed.
For testimonials of how massage therapy can provide relief to wounded military personnel, click to read this article from Massage and Bodywork about CAUSE (Comfort for America’s Uniformed Services) and wounded warriors receiving massage therapy as part of their treatment at Walter Reed Medical Center.

To schedule a Military Massage, click here and go to our online booking, select “Military Massage” for special pricing or call (515) 309-2904. If you are comfortable doing so, please note any specific injuries or illnesses at the time of booking so that we can research and be prepared for your appointment.  Your therapist will guide you to the best massage treatment options for your sessions.


Top Thanksgiving Host Gift Ideas

Thanksgiving and other winter holidays  are just around the corner and it is time to start thinking of a nice way to thank your hosts! We have a few fun alternatives to wine or flowers.

image

  1. A donation to their favorite charity. Whether an animal rescue like one of our favorites, Fluffy Butts, or a donation to your local food pantry in their name, this is a gift that your host AND a great charity will appreciate!
  2. Locally crafted goods like Morphew Designs Earrings. We carry a beautiful assortment of Morphew Designs jewelry, but a gift from a local artist is a lovely gesture for both the recipient and as a way to support a small business or artist.
  3. Kneipp bath salts are a wonderful gift for a host who is preparing an entire meal! Nothing better than an aromatherapy bath to unwind after a busy day cooking.
  4. Pure Inventions drink mixes for a healthy and delicious alternative to wine, especially if you don’t know whether the host drinks. Our favorite for the holidays is the Cranberry Elderberry packaged with cloves and cinnamon sticks from Allspice.
  5. An East Village Spa gift card is a great way to thank a local host, especially one who has overnight guests! A massage is a great way to recover from the full house frenzy. You can even purchase one to email or print from home at www.EVDaySpa.com!
  6. Farmhouse Fresh Candles. Not only are these candles perfectly scented for winter holidays, they come wrapped in cute festive sweaters that can be reused as coffee coozies! Plus Farmhouse Fresh donates a portion of their sales to animal charities, which we adore.

Are you the harried host this season? Be sure to book yourself a spa service or two after the festivities. Having something relaxing  on the horizon is a great way to manage stress. You can get through just about any crazy meal if you know you have a massage a few days away!  Book yours online!

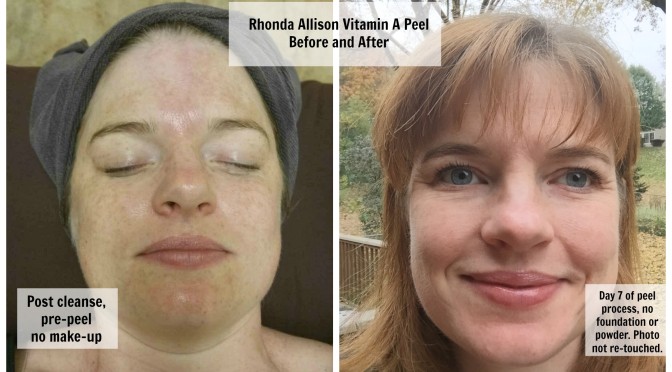
My first Rhonda Allison peel: 7 day journal

I was tickled when summer running and triathlon season was over and I could FINALLY find a stretch of time when (in theory) I wouldn’t be outside exercising for awhile and I could get a new Rhonda Allison peel!

Our estheticians decided I needed to try a Vitamin A peel for general anti-aging, hyperpigmentation, and overall skin refining.  This peel is best done in a series of 2-3, about 2-3 weeks apart.

I am a real weenie about pain and I know that typically, some of the peels (even some of the more potent products used in the Rhonda Allison EV Signature Facials) can be warm or tingly so I made sure Cassandra had a fan at the ready for me to cool off my face.  She started with a double cleanse, then products to suppress the melanin in my skin and break down the oil (a defatting agent-sounds glamorous) so the peel could penetrate properly.  It is really quite a precise science and it is fun to  learn the reasons behind each step.

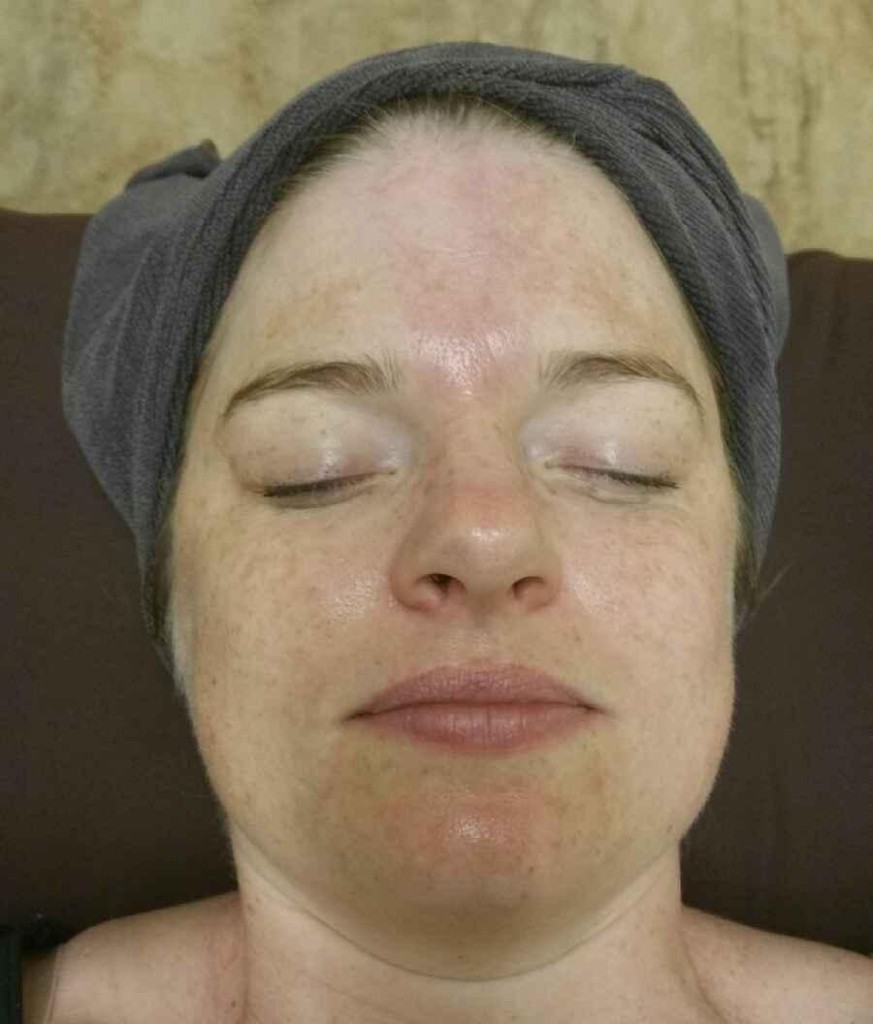
My "before" photo on the treatment table after a double cleanse.
My “before” photo on the treatment table after a double cleanse.

The peel products were surprisingly comfortable!  I got a bit warm and tingly for a minute or two, but I’d have been fine without the fan.  She didn’t have to wash them off at the end either, I was instructed to wear sunscreen if I went outside (I wasn’t going to see the light of day that day so no worries) but otherwise go to sleep without washing my face.

The peel is just the first step in the process.  The home care is also important as I quickly realized.  I needed a more gentle cleanser than I usually use, the growth factor serum to help speed skin cell turnover, and the arnica therapy to help ease tenderness.

Day 2:  My skin was tight and looked great, no peeling, no redness.  I was able to wear make-up as normal.  I had to wear sunscreen (I should anyway!) and avoid outside workouts.

Day 3: This was a Saturday and the day I started peeling.  Camille and Cassandra were surprised I was peeling, they didn’t know if I would or not (everyone is different).  I had travel plans to go to a concert in Minneapolis but it was Halloween and the show was in the dark so I didn’t care!  I forgot to bring my Arnica Therapy and I regretted it.  I felt like I had a pretty decent sunburn and I just had the growth factor serum as my only moisturizer (stupid) and my sunscreen.

IMG_3663[1]
My peeling on day 3. I peeled most around my mouth and forehead where my skin moves when I furrow my brow or talk).
Day 4: This was a day of regrets.  Remember in the first paragraph, I timed my peel to a period of no outdoor exercise.  I couldn’t help myself.  I LOVE running in other cities.  So I went for a morning run in Minneapolis and enjoyed some wind burn.  Ouchie!  I got an “I told you so” from Camille and a reminder to use my Arnica Therapy when I got home.  I felt heat and stinging on my face like sunburn the ride back, but the arnica therapy helped.  When I took a shower with a milk cleanser, the peeling skin balled up a bit without me forcing it so I GENTLY sloughed with a washcloth and that helped.

IMG_3704[1]
Day 5, no make-up, less face peeling-I did have my “skin beard” later in the day, my pores looked super small and the fine lines on my forehead and my “11s” were less noticeable.

Day 5: When I woke up, I felt like most of the peeling had resolved and I was able to wear make-up to work.  Then I realized under my chin was peeling so I had a pretty “skin beard” that nobody told me about for a couple of hours.  My face didn’t feel hot like it did on Sunday (Day 4).  My forehead was done peeling.

Day 7: Today I was thrilled when I woke-up and washed my face!  I could have gotten away with no foundation, except that my foundation IS my sunscreen for days I’m not outside.  The thing that really blew me away today v. 2 days ago is how much lighter my freckles and sun spots are.  Even a birthmark on my chin is lighter. People at work noticed too.  I’m completely done peeling and I’m ready to go back to using my regular Rhonda Allison skin care products.

IMG_3715[1]
No foundation or powder on, no editing. Natural light this morning.
My take-aways: If you are going to peel, plan to do so when you don’t have to wear make-up or work out for about a week.  If you are someone who gets actual peeling, it is likely going to be worse on days 3-4 (this seems to be the consensus with everyone that has tried the peel and who does peel).  Your skin will likely just look firm on day 2.  Use the post-care!  Rhonda Allison actually requires us to sell a post care kit to every peel client (we sell them at 40% off to peel clients).  The products made a difference in my progress for sure.  The growth factor serum made me peel faster and helped my skin turnover quickly.  When I forgot the arnica therapy on my trip I was in pain!  It really helps to heal skin.  A gentle cleanser is also a must.

This peel is best in a series so I’ll be getting another on in about 3 weeks and I’ll keep you posted!

Curious about trying a peel?  Because this service is more intense, discuss it with your esthetician at your next facial appointment and she will recommend the right one for you.  Peels need to be done within 5 weeks of a regular facial so your esthetician has a chance to evaluate your skin (especially as skin changes with seasons) and determine what protocol is safest and most appropriate for your goals.